
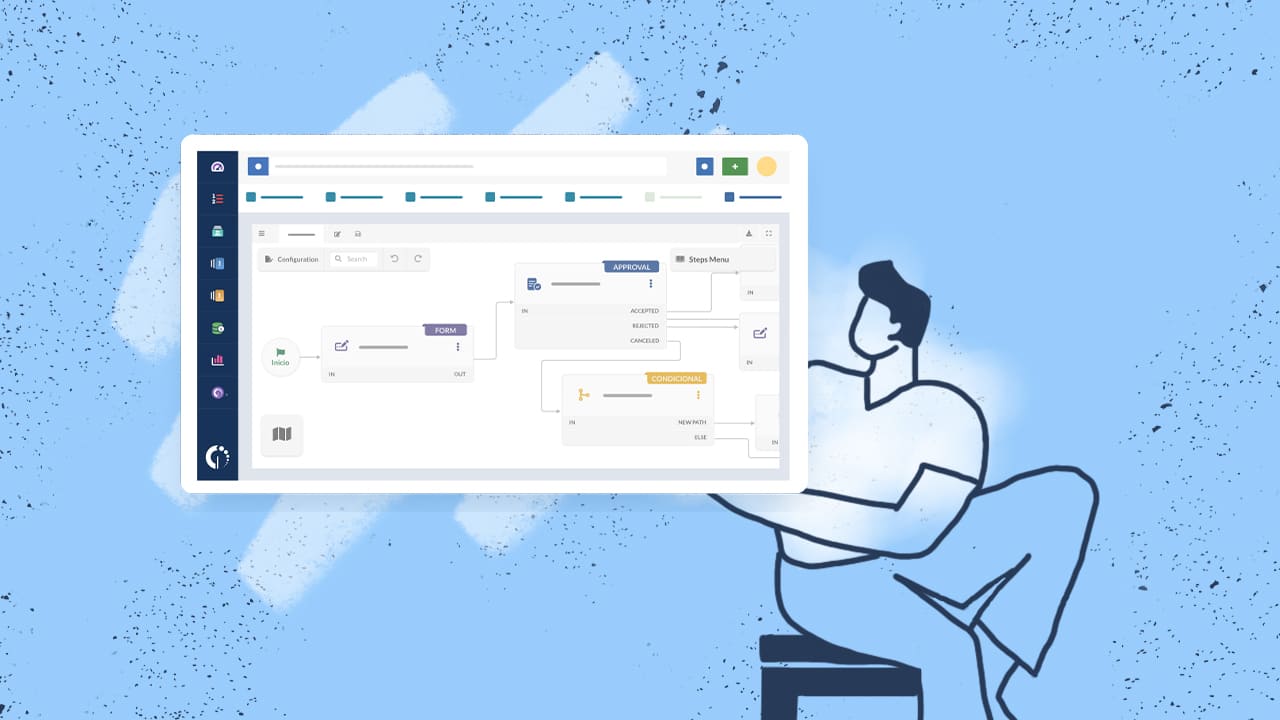
Hey there! Have you heard about the new and improved workflow builder in InvGate Service Desk? It’s now more user-friendly and accessible to both tech-savvy and non-tech-savvy individuals. We’ve redesigned it to simplify the user experience, reduce the learning curve, and provide pre-built processes to save you time.
So, what exactly is a workflow builder? It’s a tool that helps you define a series of steps to complete a process, following an “If this, then that” logic. This tool is great for enforcing service desk SOPs and streamlining cross-departmental processes like onboarding new hires.
The latest update to InvGate Service Desk’s workflow builder allows users to create, modify, and optimize workflows in minutes without needing any technical expertise. This means you can speed up your Enterprise Service Management strategy with ease!
The new workflow module focuses on a streamlined user experience, making it easier for users to build and manage workflows. With features like simplified conditionals, easy approvals, improved navigation, and more, users can now create workflows quickly and efficiently.
Overall, the new workflow builder offers four key benefits: reduced learning curve, improved UX/UI, simplified configuration tools, and built-in workflow templates. It’s designed to make workflow management simpler and more intuitive for all users, regardless of their technical background.
In conclusion, workflows are essential for enhancing processes within your organization, and InvGate Service Desk’s new workflow builder is here to make that process even easier. Give it a try and see the difference for yourself! To seamlessly integrate the original HTML content into a WordPress platform while preserving the tags, headers, and key points, you can follow these steps:
1. Log in to your WordPress dashboard.
2. Create a new post or page where you want to add the content.
3. Switch to the “Text” editor mode instead of the visual editor.
4. Copy and paste the original HTML content directly into the text editor.
5. Review the content to ensure that all tags, headers, and key points are preserved.
6. Save or publish the post/page to see the content displayed on your WordPress site.
By following these steps, you can effectively integrate the original HTML content into your WordPress platform while maintaining the structure and formatting of the content.